1. How to perform a quick search
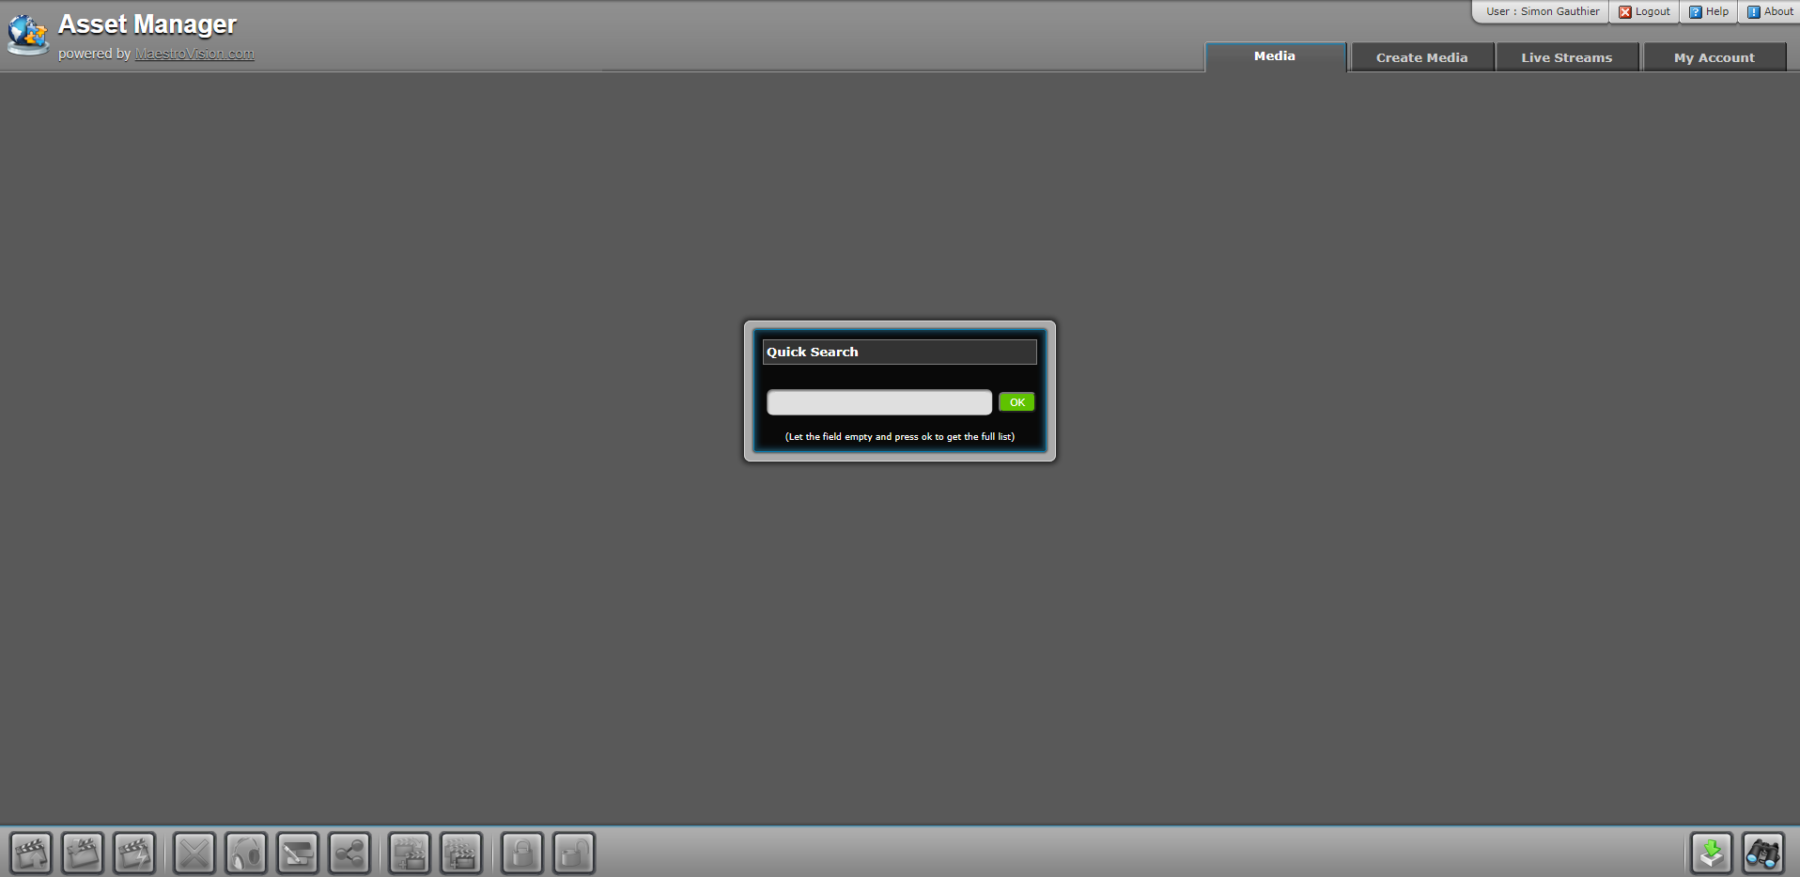
- When you first log into your account, the quick search box will appear. In order to review all recordings without performing a search, simply click the green “OK” button.
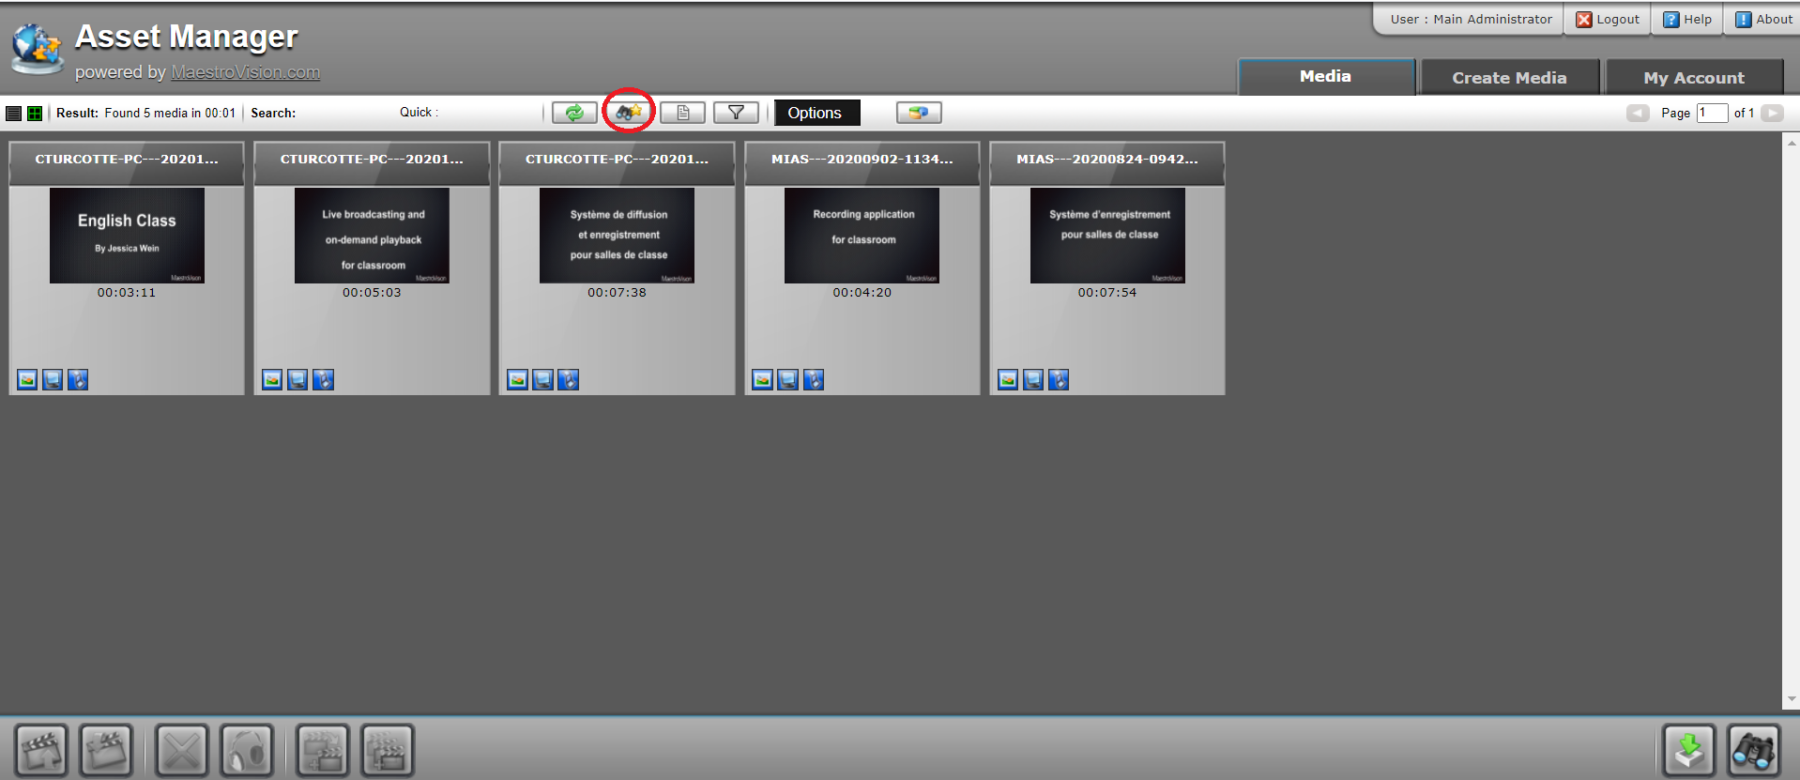
- To perform a quick search from within the media library, click on the binoculars with the yellow star above the recording
- Then, enter the keyword you’d like to search and click “OK”
2. How to perform an advanced search
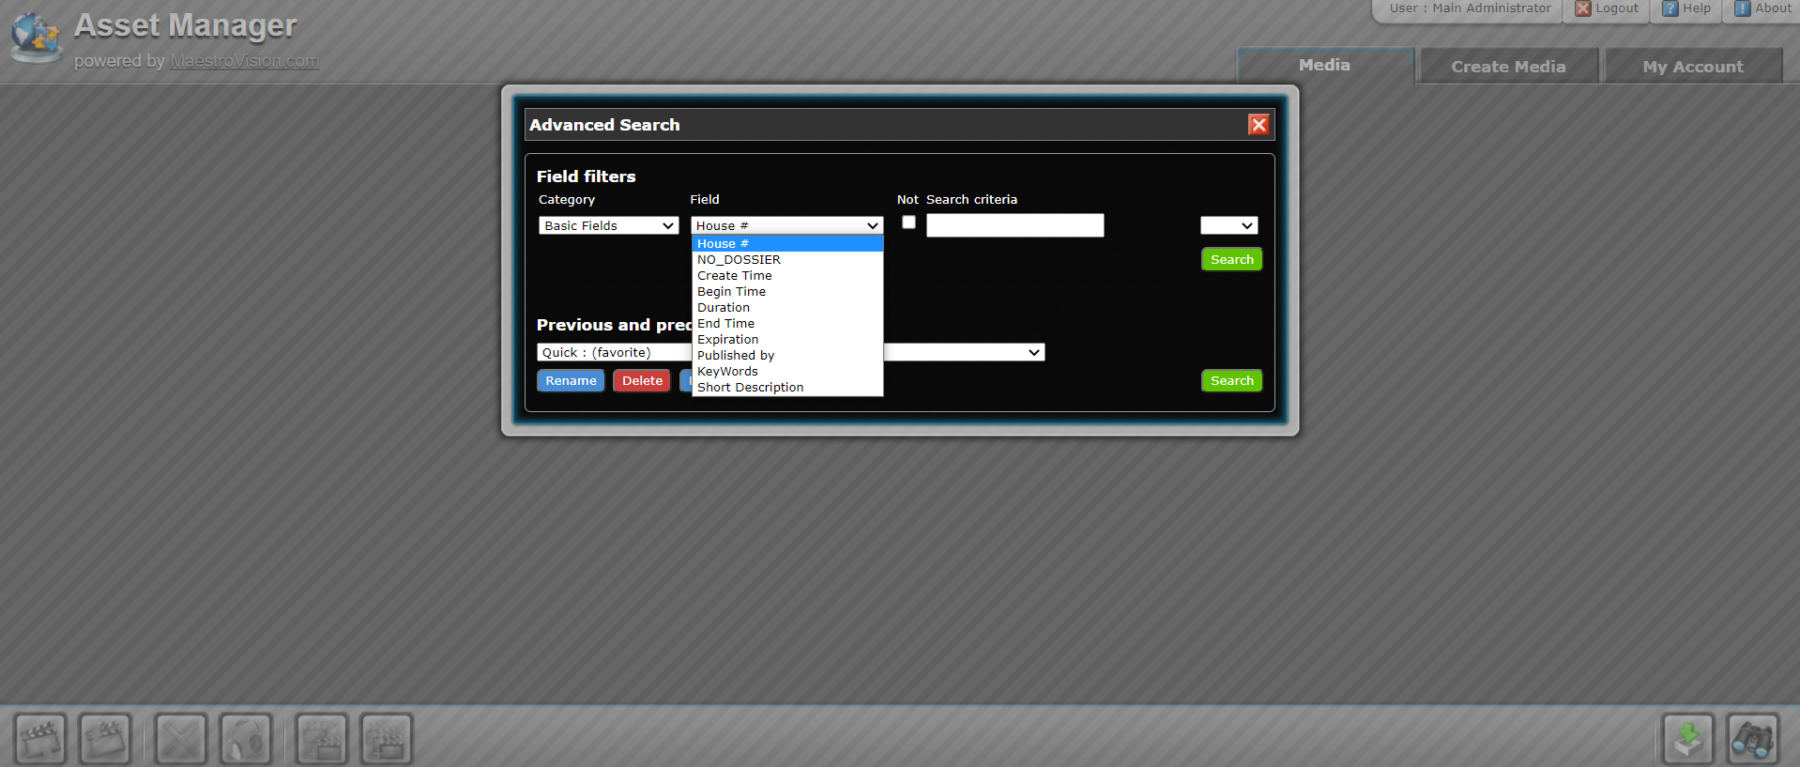
- Click the binoculars on the bottom righthand corner
- Choose the field that best corresponds with what parameters you’re looking for (these fields can be customized according to your specifications)
- Enter a keyword in the search criteria
- Click the green “Search” button
3. How to edit metadata
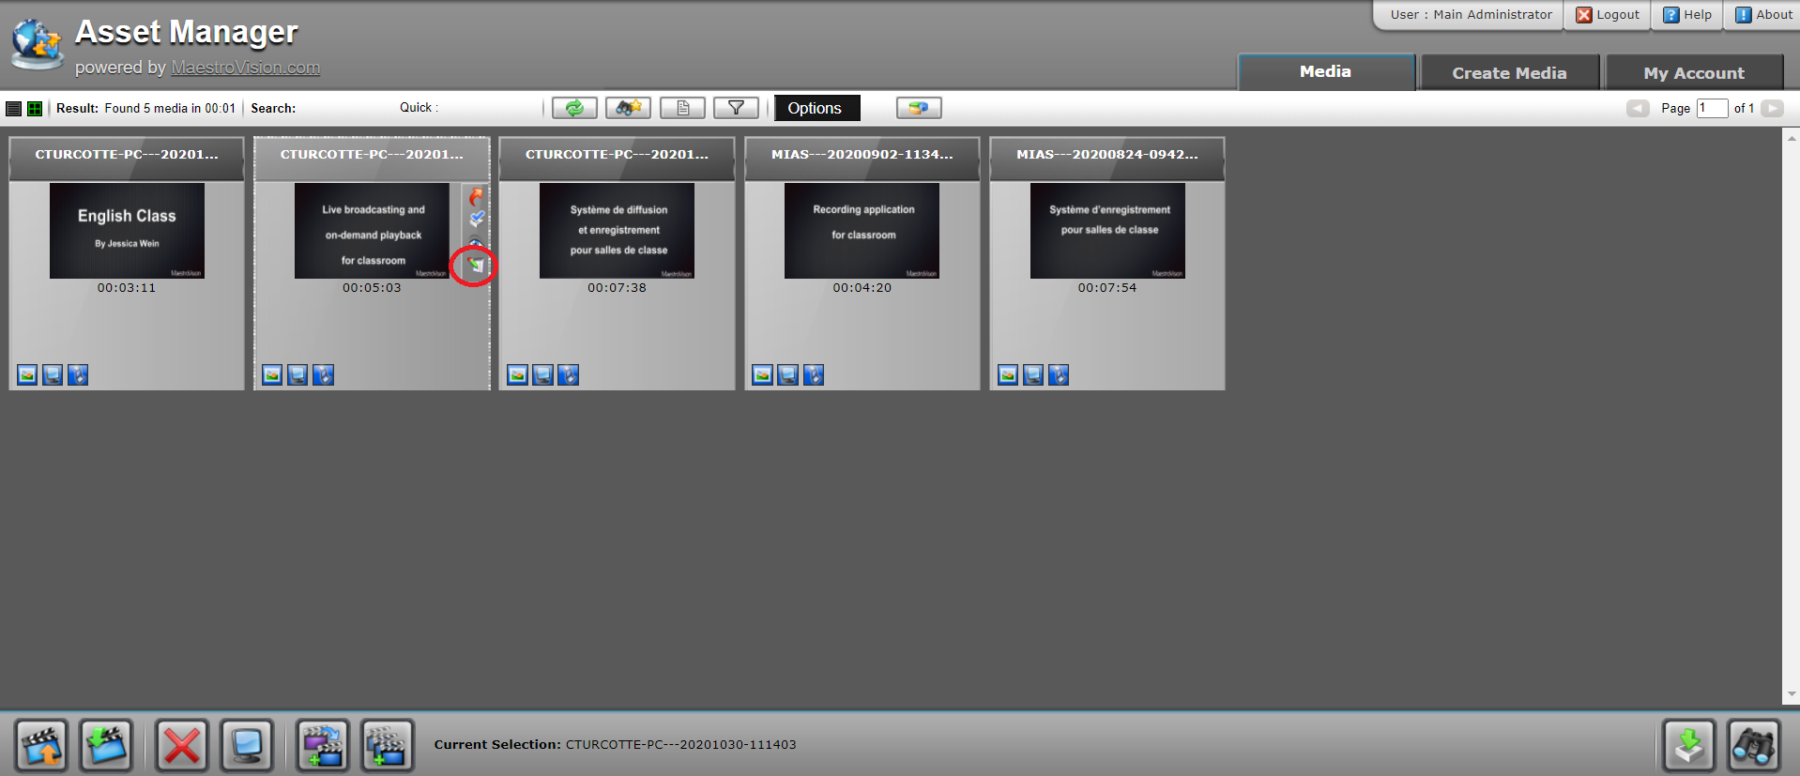
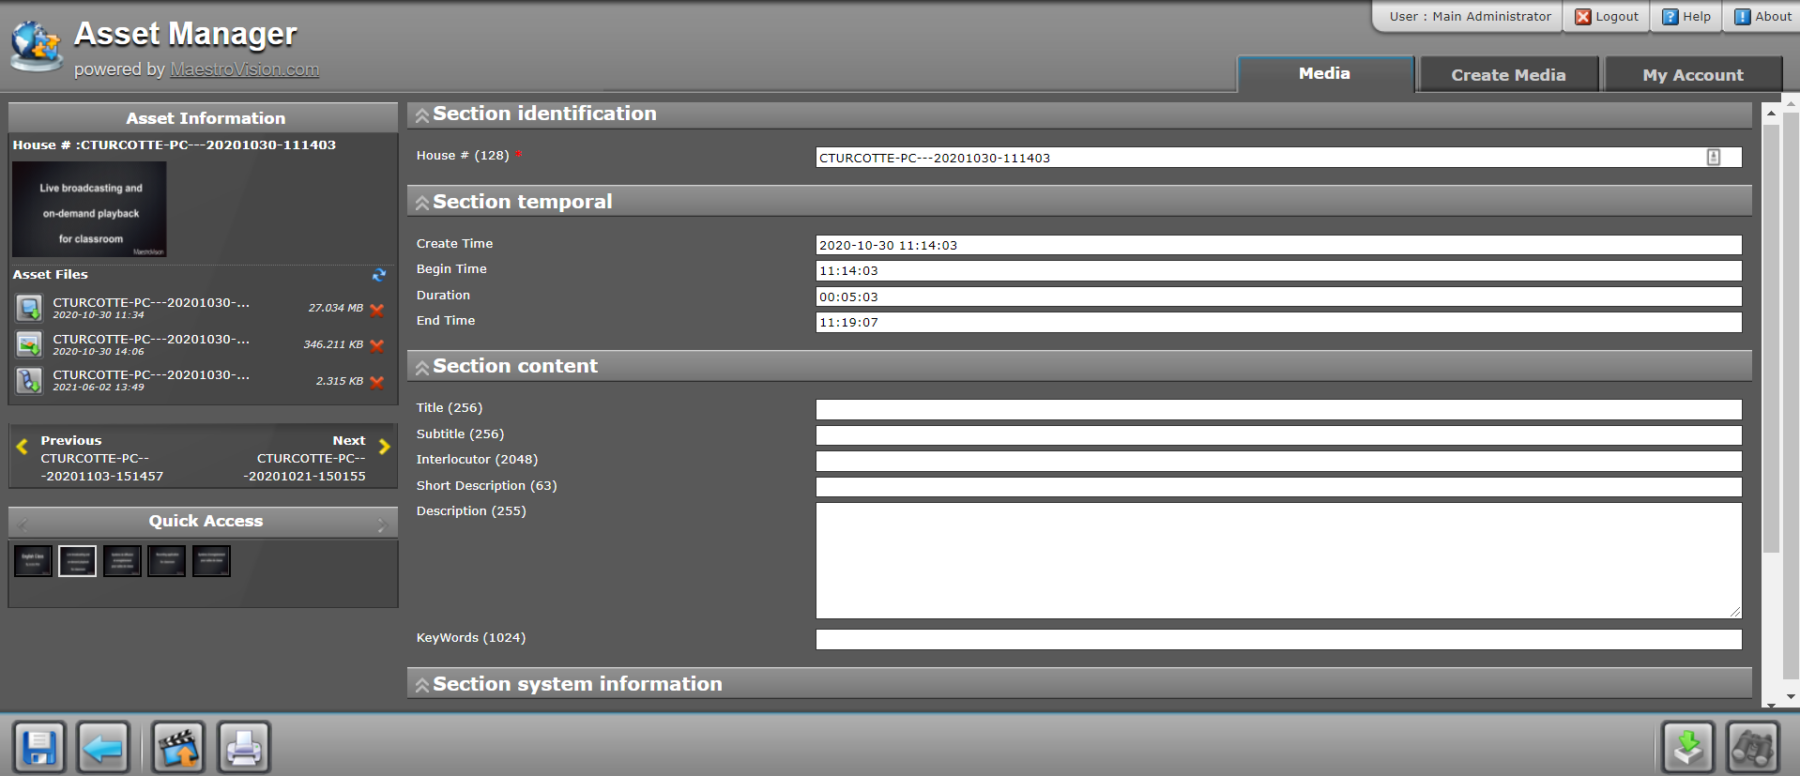
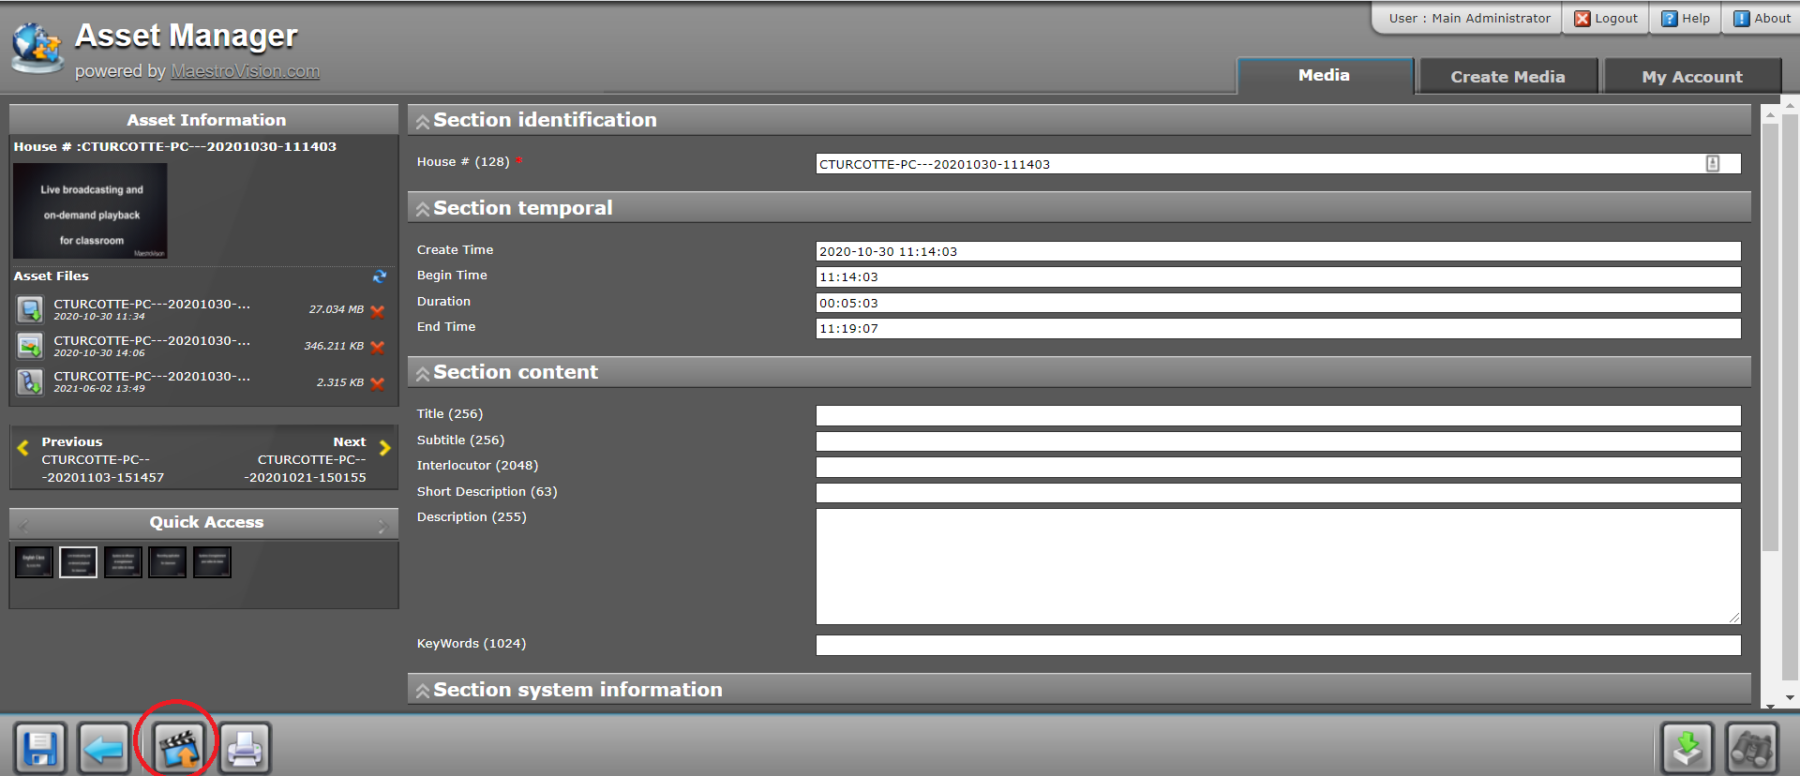
- In order to edit the metadata of your recording, please click on the recording you’d like to edit and click on the notepad circled below.
2. Next, a window will open with all of the fields you can edit. Enter the text you’d like to add to the recording and click the save button (floppy disk) on the bottom lefthand corner.
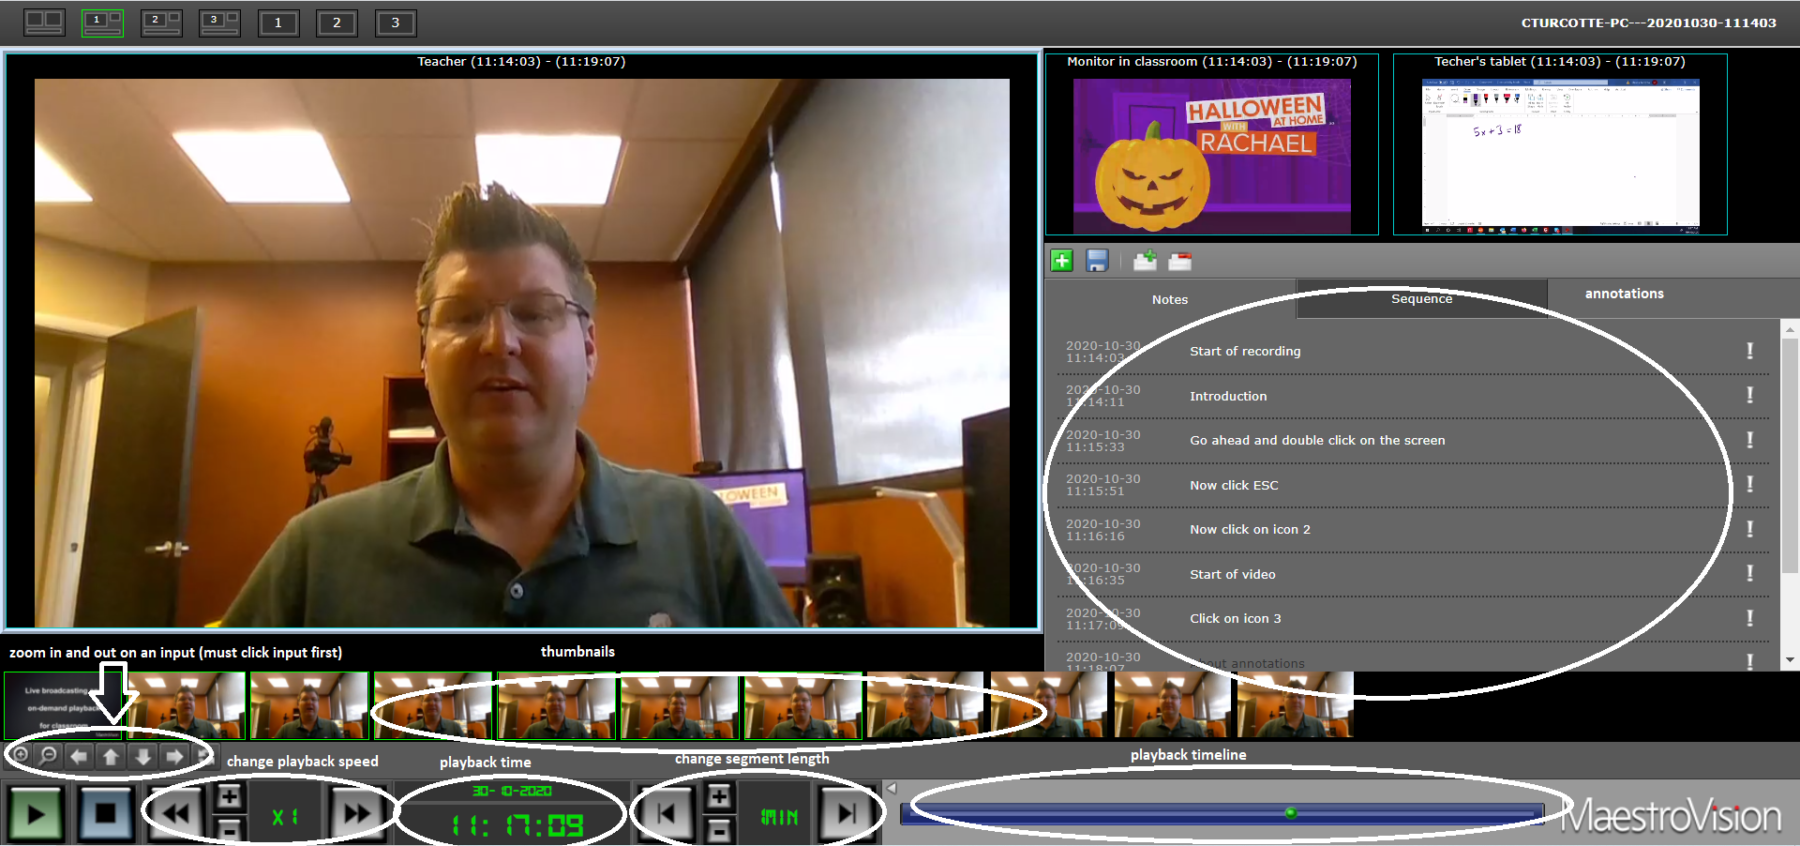
6. How to add bookmarks
-Scroll to the place in the playback timeline that you would like to add the bookmark.
-Click the + green button on the upper lefthand corner above the “Notes” tab.
-Type in your bookmark text and click enter
7. How to export recordings
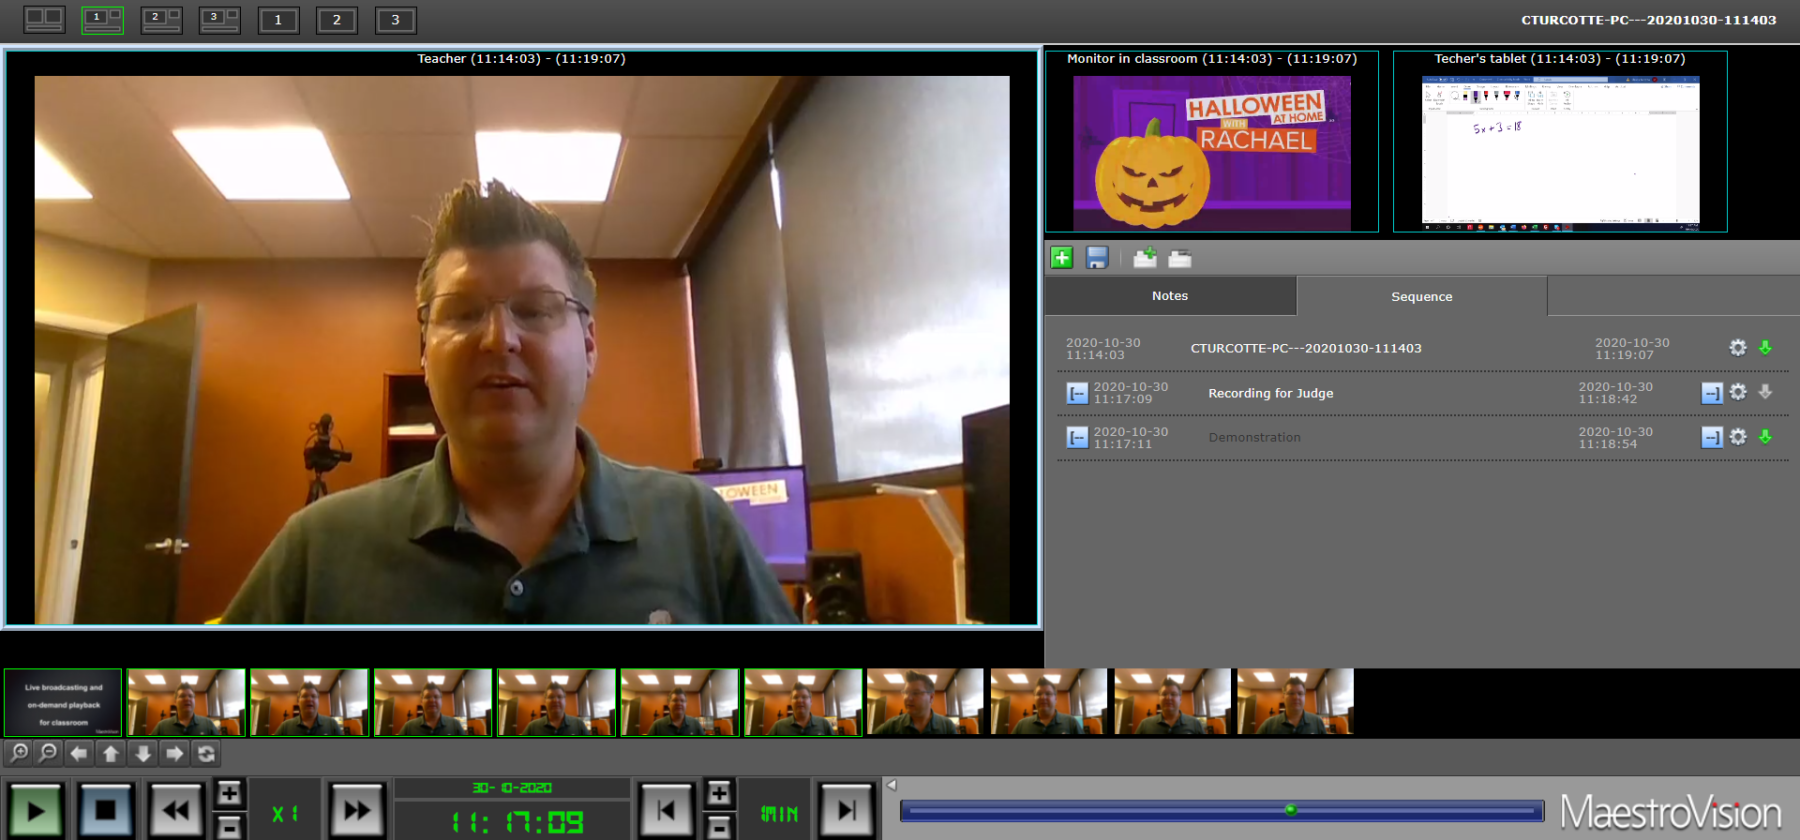
- Click on the “sequence” tab
- Click the + green button
- Type in the name of your recording and click enter
- Scroll to the place in the recording that you’d like to be your start time
- Click the [– blue button on the lefthand side of the title to designate your start time where the cursor is placed in the timeline
- Do the same for the end time using the –] blue button on the right-hand side
- Click the settings wheel to generate the recording
- Once the green downwards arrow is green, click it to download the export from your browser.
8. How to upload media files
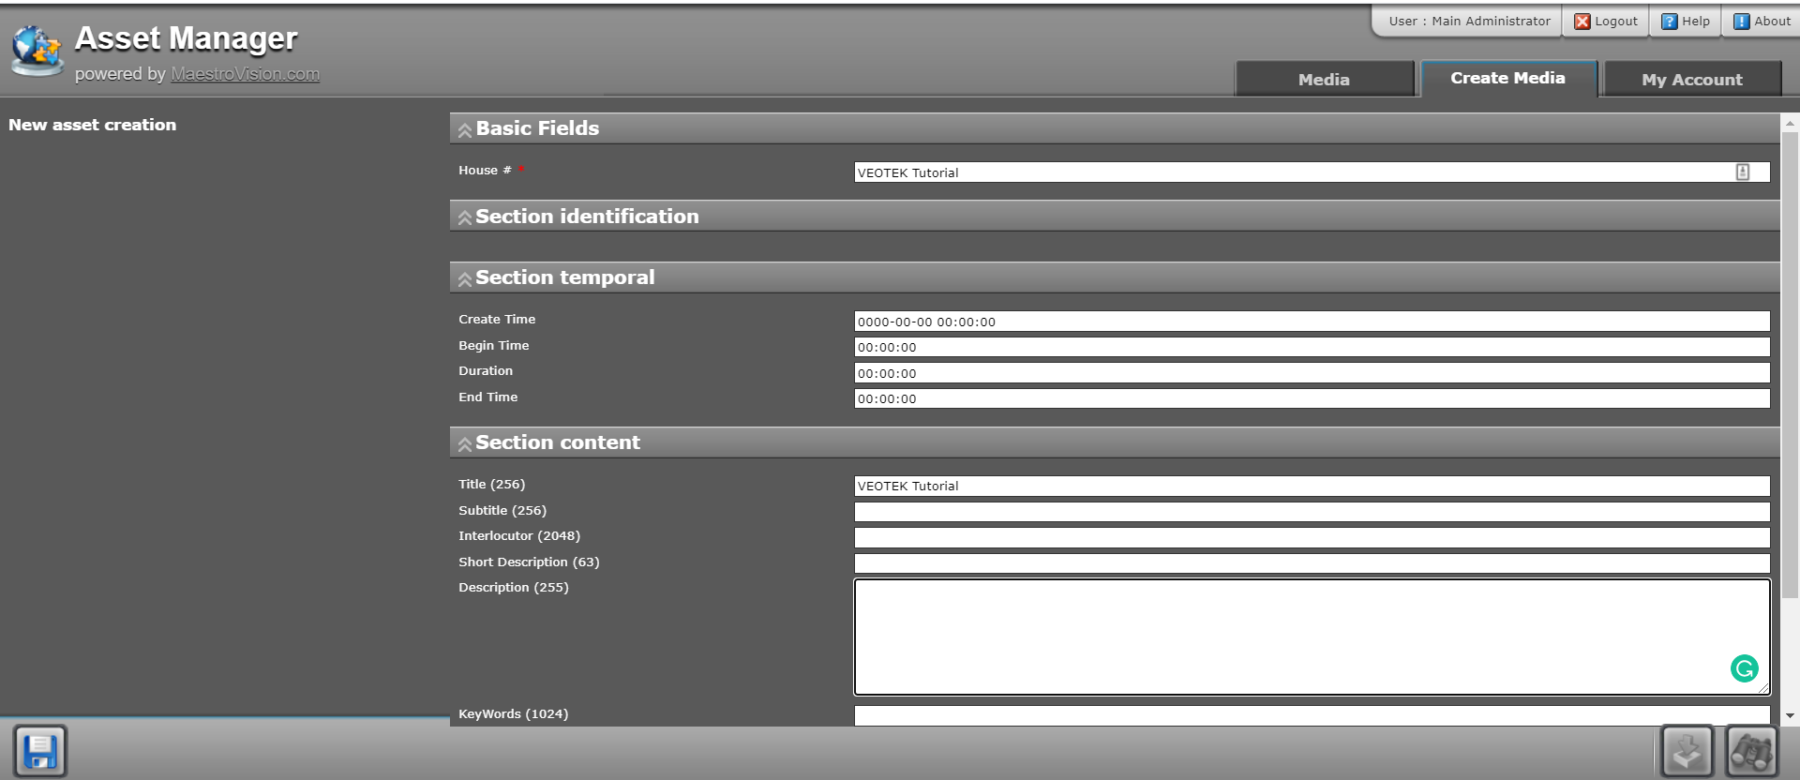
- Click on the “Create Media” tab on the upper right-hand corner.
- Enter all of the metadata that is relevant to your recording.
- Click the save button on the bottom lefthand corner.
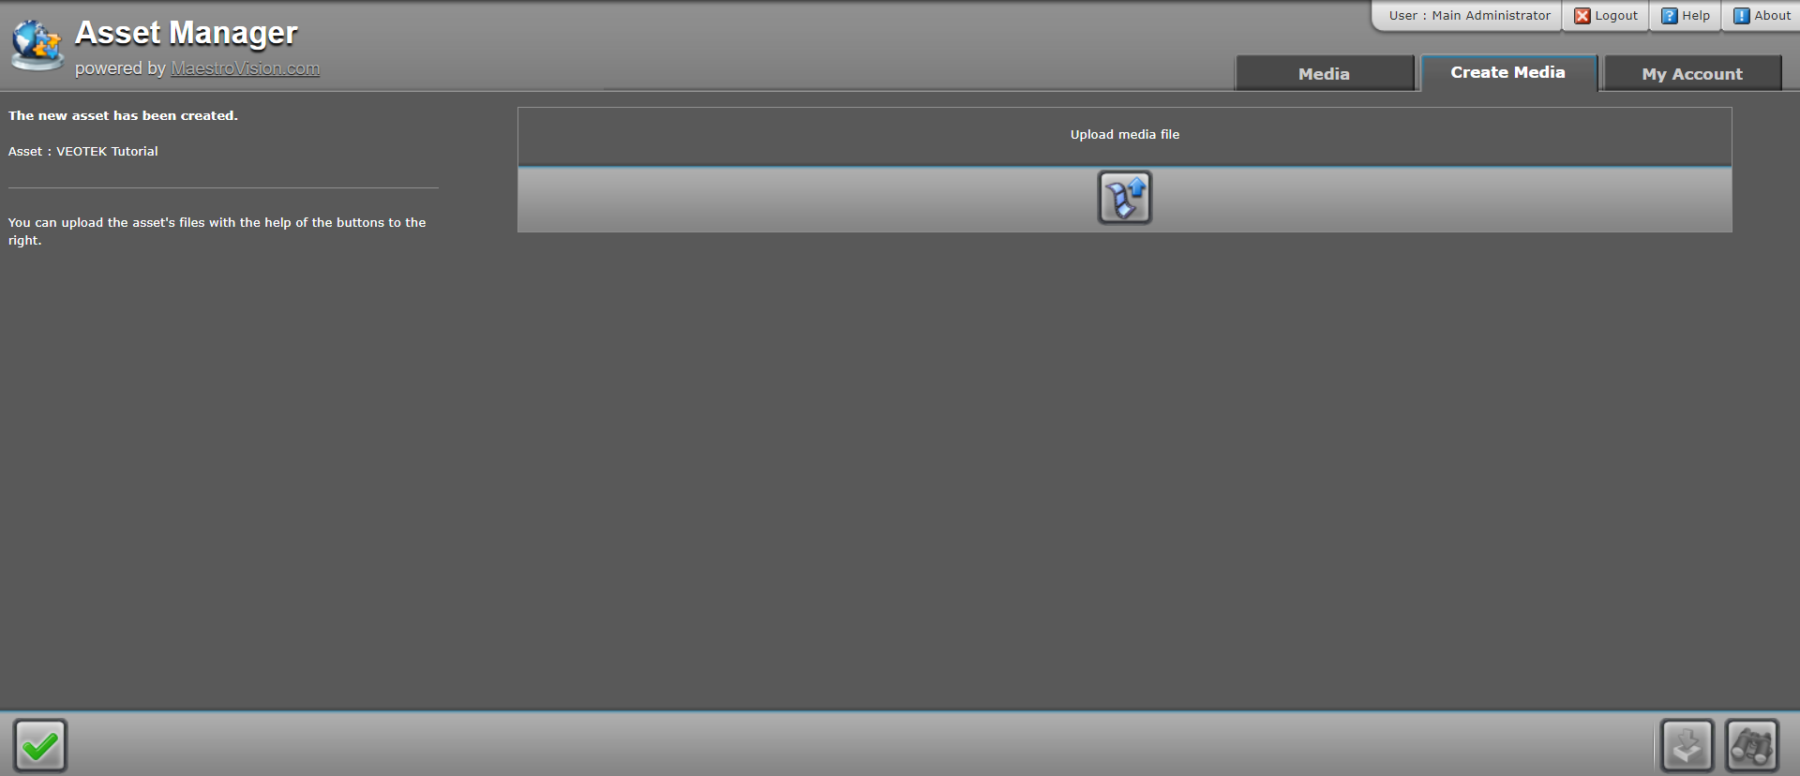
4. This will bring you to a page that asks you to upload your file.
5. Click on the file you would like to upload and then click on the green checkmark on the bottom left-hand corner to save it in the library.

