For the next edition of the FPCA Mid-Winter Conference and Exposition, MaestroVision will be presenting the latest interview recording technology on January 7th and 8th, 2024.
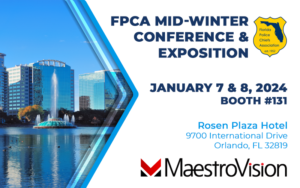
Brian Kanaczet, police technology specialist, will be at our booth #131 to discuss your interview recording system needs from 5 to 7 pm on January 7th and between 7 am and 3 pm on January 8th, 2024.